Use ice to explore color mixing and states of matter.
If you’re wondering how your child can use an ice cube to create colors – it’s
simple. The ice isn’t the regular run-of-the-mill clear cube. Instead, your
child will help you to make a batch of rainbow-hued ice to use for this summer
activity. As your child goes through this project, help her to explore the
process she’s engaging in. Ask questions, encourage her to ask her own
questions and remind her that there’s no ‘right’ result. In the end her craft
may look fairly abstract (chances are almost 100 percent that it will). And,
that’s perfectly ok!
Here’s What You Need:
·
1 ice cube tray
·
Food coloring
·
Water
·
Thick white paper – Use something matte,
such as card stock. Avoid shiny poster board paper (the color will run too
quickly on a slick surface).
·
Optional: Salt
Here’s What to Do:
1. Squeeze
a drop or two food coloring into each compartment of the ice cube tray. Try
making each section a different color. Add another layer to this step and mix
the primaries (red, blue and yellow) into the secondaries (purple, green and
orange).
2. Add
water to each compartment. Putting the tray under a running faucet may cause
the colors to splash everywhere. Reuse an old water bottle, filling it up and
gently adding the liquid to each color.
3. Freeze
the ice cubes.
4. Place
the paper on a table or another work surface (and outdoor patio is an
easy-to-clean option). Ask your child to predict what she thinks will happen
when she puts the colorful cubes on the paper. Also ask what will happen when
two different colors of cubes meet up.
5. Pop
the frozen color cubes out. Let each rest in its tray compartment (if you toss
them into one big bowl or put them on a plate the colors will start mixing
before your child is ready).
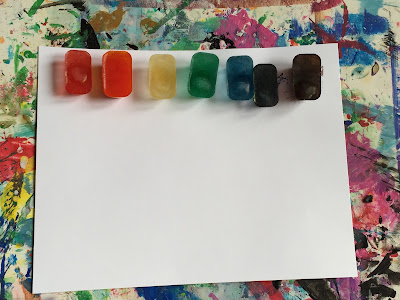
6. Line
the cubes up at the top of the paper. Get ready, set and go!
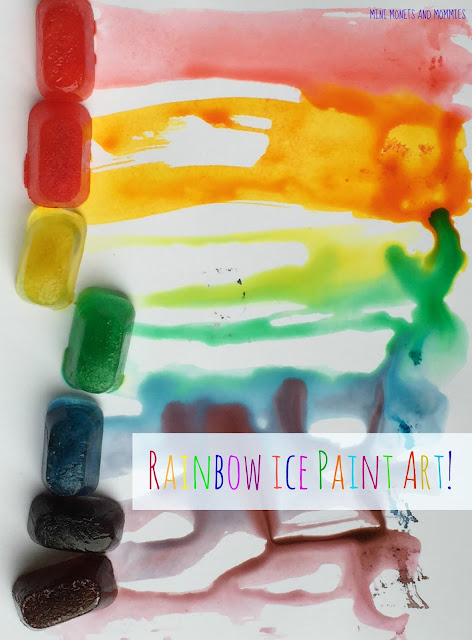
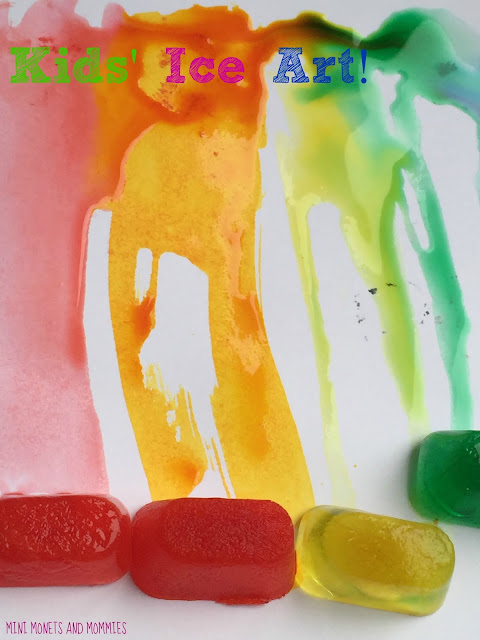
7. Push
the cubes down the length of the paper, making streams of rainbow lines. Your
child can also try lifting one end of the paper to make the cubes slide. Watch
as they melt and the colors begin to mix together during the race.
8. Optional:
Sprinkle salt on a cube or two to see what happens. Question your child before,
asking her if she thinks it will make the ice melt slower or faster.
Your child can repeat the ice art activity until it’s
all melted. Try other configurations of cubes or stack them into a pyramid (and
see what happens as they melt away). If the ice isn’t exactly melting, your
child can chip and flake it onto the paper with the end of a spoon.
Are you looking for more summer at? Follow my
Pinterest board for activity ideas!


Oh i just love this.Ill deffo give this a try :)
ReplyDeleteSo pretty! Adding a competitive aspect will definitely get my daughter's attention!
ReplyDeleteHi there. Thanks so much for linking this up to the parenting pin it party. This looks lovely, and so simple to do. My DD would be very keen - and as for the boy, anything that involves a race works for him - which colour will win ;-)
ReplyDeleteLove this! I am totally featuring you tomorrow. #Pintorials :)
ReplyDeleteThanks so much for sharing at #WeLoveWeekends! You've been featured this week in our Summer STEM edition - hope you'll come back to share again!
ReplyDeleteIf rhythm runs in your veins and you love a good challenge, Geometry Dash is your perfect playground!
ReplyDeleteI think this is a very fun activity for kids because they can have fun and be creative at the same time. hole io
ReplyDeletePolyTrack blends simplicity with intensity, forcing you to control every movement carefully to avoid crashes and complete fast-paced laps.
ReplyDeleteLove how it blends casual Football Bros IO gameplay with real competition. Even casual players can enjoy it, but you can get sweaty with it too!
ReplyDeleteIn the scary video game FNAF, players have to stay alive while being chased by hostile robots. There will be a scary scene, fun gameplay, and a mysterious story.
ReplyDelete