(This post contains
affiliate links. Please see my disclosure statement for more information).
Okay, so we
all have heard that messy play is good for kids. Not just good, but totally
beneficial when it comes to encouraging creativity, inspiring imagination and
even improving critical thinking skills. That said, sometimes we have to be
practical. Let’s say you’re at grandma’s house for a week in the summer. The
kiddos are begging to do a finger painting art activity. But, grandma’s white
carpet or couldn’t-be-cleaner kitchen just can’t handle the splatters that are
sure to ensue. What now? I have an answer that let’s your child ‘finger paint’
without actually using anything that’s a liquid.
I used to teach
a preschool art class in a museum – entirely in the art galleries. If you think
grandma freaks about getting teeny tiny droplets of tempera on her tile floor, imagine
what the museum higher-ups thought about the prospect of having 3- to
5-year-olds making art in the same space as original Monet’s, Van Gogh’s and
Pollock’s. Obviously, no paint was allowed. But, the kids always wanted to
paint (and the parents always asked about it).
In order to
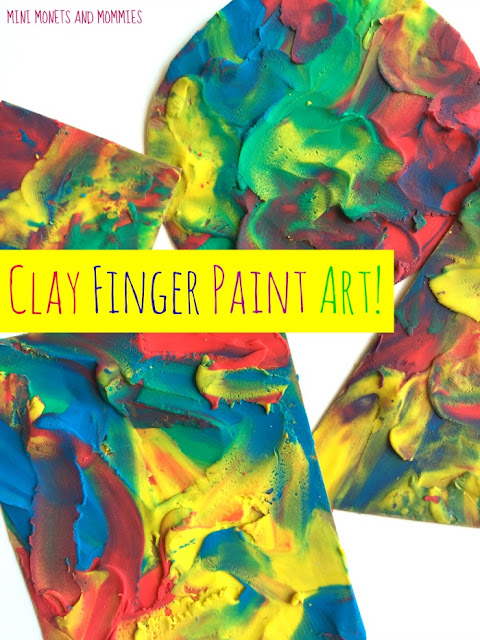
get a paint-y feel, without actually making a mega mess, I swapped in soft modeling
clay. The clay sticks to the paper underneath, and almost acts like actual
finger paint (if it’s soft enough your child can mix colors, create textures
and explore with lines/shapes). It’s also a tremendous fine motor workout!
In the past
we’ve done general exploration types of clay paints as well as famous artist-inspired ones. This time we’re adding some math (and a recycle/reuse
theme). Instead of buying paper or board, have your child search the house for
a cardboard source to reuse. Cereal and cracker boxes are great options. The
cardboard is thick enough so that the clay doesn’t soak through, but thin
enough that the kids can still cut it.
How does the
math come into play? Your child is going to make her own geometric shapes to
cover in clay paint! Use these instead of flash cards or ready-made products to
learn shape names.
Here’s What
You’ll Need:
·
Cardboard
·
Scissors
·
Markers
·
Soft modeling clay (in at least two different colors)
Here’s What
to Do:
1. Draw
shapes onto the cardboard. Your child can make them as small or large as she
wants. The bigger the shape is, the more clay (and more work) it will take.
2. Pull the
clay apart into pieces.
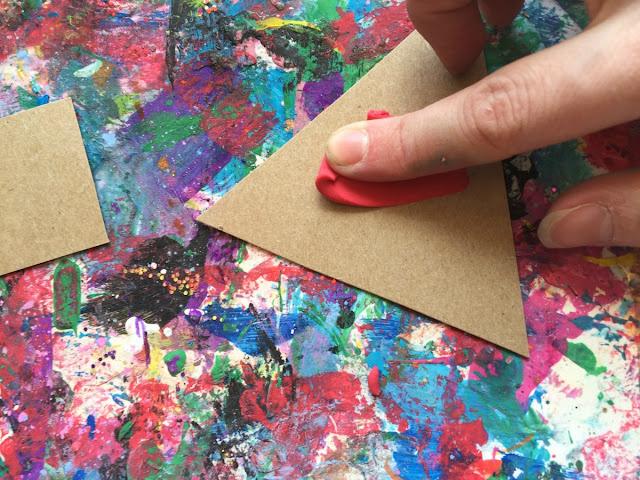
3. Smooth
the clay onto the cardboard, finger paint style. Your child can use her hands
to mix the colors together, blending red and yellow into orange, red and blue
into purple or yellow and blue into green.
As your
child works, she can layer the clay to make textures, uses her finger tips (or
simple tools such as craft sticks) to make patterns/marks or add more colors.


