Mini Monets and Mommies: June 2016

Thursday, June 30, 2016

Fun Fourth of July Kids' Crafts

The Fourth of July is quickly coming up! That means fireworks, a backyard BBQ and red, white and blue patriotic kids’ crafts.

Fourth July


What’s on your art activity list for the Fourth? You can go simple (which is perfect during a family reunion or party) and put out crayons in American flag colors, add a few star stickers and let the kids get artsy with very little mess.


Child's crafts


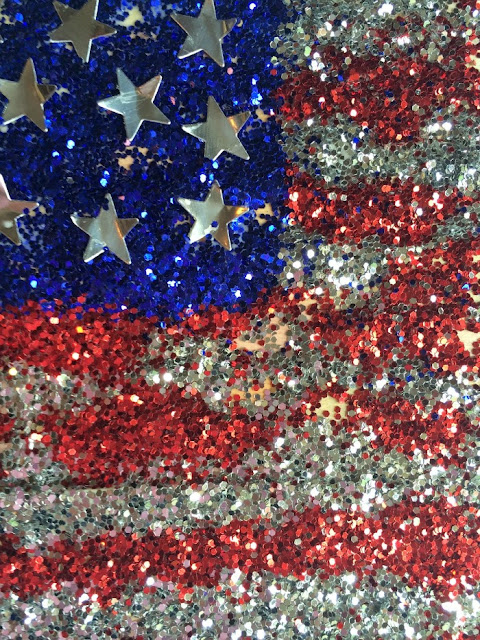
If you’re looking for something that sparkles, break out the glitter. This glitter flag craft is easy enough for your preschooler to try, but still fun for older kids.

Sparkle crafts

Chalk doesn't always equal sidewalk art (although, sidewalk drawing is a fabulously fun art activity for kids). You can grind it up, add some water and create your own red, white and blue cubes for a patriotic painting.

Patriotic art

Following the freezing fun of frozen chalk are cubes of another sort. Get out the food coloring, toss in some sparkles and create your own glittering cubes. Make red, blue and silver (or opal) for a Fourth theme.

Sparkling art
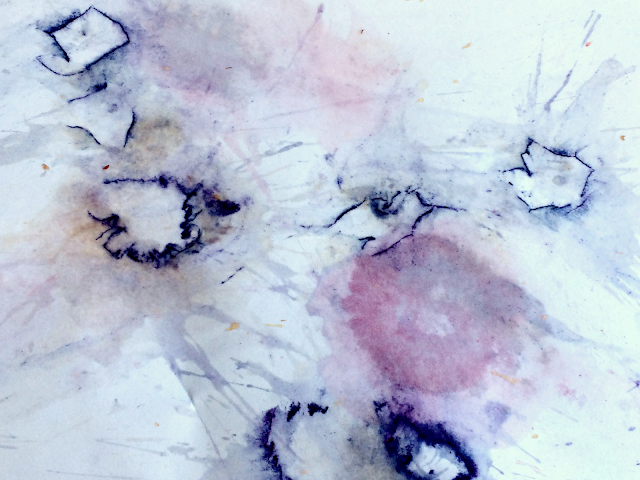
Do you have a few extra berries hanging around (especially after you’ve whipped up a few 4th of July-themed treats)? Let the kiddos put them to use, making their own paints. These natural paints are taste-safe, meaning they’re perfect for little kids who just might be into exploring everything with their mouths.

Berry art
 

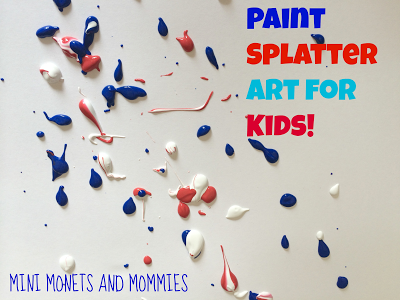
Jackson Pollock anyone? Mix a famous artist activity and a fun Fourth painting exploration! Paint splatter the day away.
Kids' art

Tissue paper prints are a favorite of mine. Just remember – never use color-fast or non-bleeding tissue. Like the names say, these papers hold their colors. This means that they won’t work for prints.
Flag crafts

While we’re at it, why stop at Fourth of July kids’ crafts? That holiday cookout means that you need some snack-y options for the kids. Summertime grilling season means one thing to me (okay, aside from the requisite hamburgers and hotdogs): S’mores!

We were a big s’mores family. After my son’s Type 1 Diabetes diagnosis last spring we’ve had to forego the ooey gooey *and super sugary) treat. But, someone should eat those tasty marshmallow stackers. So, here are a few of my favorites that are also perfect for your Independence Day party!

Pink princess. Sparkly, pink and filled with strawberry taste.

Cupcake s’mores. This one requires baking. But, it’s oh-so-good.

Cherry red coconut. Add in a few blueberries for a red, white and blue dessert.

Melting snowman. If you have a Frozen fan, these are for you.

Animal cookie ice cream sundae. Sugar-packed? Yes. A cool treat on a hot day? Yes!!!

Dessert ideas
 

With your artsy activities and tasty treats, you’ve got plenty for the kids to do (and eat) on the Fourth of July. What's your favorite Independence Day kids' craft? Share it on the Mini Monets and Mommies Facebook page!

Monday, June 27, 2016

Summer of Grilling Healthy Backyard Barbeque


This shop has been compensated by Collective Bias, Inc. and its advertiser. All opinions are mine alone. #SummerOfGrilling #CollectiveBias

Summer is finally here, and it’s grilling season! About 10 years ago (when my now-teenage son was 4-years-old) we started a Sunday barbequing tradition. We get together with my parents and have hamburgers, hot dogs and all of the ‘summertime favorites’. Sounds fun, right?

Hamburger Recipe


Well, it is. Or, at least was. I have to be honest here, this year I was exactly looking forward to our summer cook outs. A few months ago my 14-year-old was diagnosed with Type 1 Diabetes. After five very scary days in the hospital he was released with a brand new meal plan (and orders to test his blood sugar and give himself insulin injections six times a day). He’s done amazingly well so far – even though it’s been a major change.

Instead of just eating when and what he wants, he now has to follow the guidelines the nutritionist created. When it comes to our summer barbeques that means no gorging on chips and passing on the burgers (and veggies). There are no more refreshingly chilly popsicles or bowls of ice cream at the end of dinner. But, as I’ve come to realize, that doesn’t mean we can’t have still have a super-tasty cookout. We just had to make some adjustments.

When I was planning for the start of grilling season I had to make some adjustments. This meant coming up with ideas for plenty of healthy options, that were still ‘cool’ enough for a teenager to try (believe me, a plain burger on a bun wasn’t going to cut it). So, on my weekly trip to Giant Eagle (okay, so maybe I’m there more than weekly – I should probably write better lists) I decided to try something a bit different than or usual summertime staples.

In past years I’ve pretty much stuck to a package of ground beef that I turn into mega-sized burgers. This year portion control is a must-do, so massive burgers won’t do. What’s the alternative? Market District Gourmet Seasoned Beef Burgers! Not only do they have added flavor, but they’re already in perfect burger form (with a portion size that works within my son’s meal plan – yay!). I chose these as our new centerpiece for our weekend backyard meals.

Instead of chips, dip and ice cream that I usually added, I went with a much more nutritious version of the summer cook out. Keep in mind, this meal worked with my son’s specific meal plan. That said, it might not work for every diabetic (you should only and always follow the doctor’s or nutritionist’s guidelines and plans). Even if your child doesn’t have diabetes, this is a much healthier version of what (at least for us) used to be a not-so-healthy meal.

Along with the burgers, Giant Eagle had everything else that I needed to complete the meal (they truly are the grilling headquarters – and who doesn’t appreciate a one-stop shop?).
Grilling Foods
 
 
What did the meal end up looking like?

Obviously, the burgers came first. Here’s what you’ll need:

·        Market District Gourmet Seasoned Beef Burgers (they are in the meat section, and portioned nicely, with a variety of seasonings -- i.e., you can make everyone happy)

·        Kraft Natural Cheese Slices, from the dairy aisle

·        Heinz BBQ Sauce

·        Pepperidge Farm Buns

·        Nature’s Basket Ketchup

·        Giant Eagle Mustard

Here’s what to do:

1. Grill the burgers! So super-simple, isn’t it? I’m not a fan of handling raw meat (I really don’t know anyone who is). So, the ready-made burgers mean that you can just put them on the grill and cook. No having to measure seasonings, mix and mold the meat into patties.

2. After the burgers are completely cooked add another layer of taste. Teenagers certainly don’t like anything dull (which is a complete contrast from when my son was younger and wanted everything plain, plain and even more plain). I poured the Heinz BBQ Sauce into a small bowl and let him brush some onto his burger (you can also add a light brushing of it before you cook the burger too). This is also an easy alternative for anyone who isn’t into ketchup and mustard.

Hamburger Barbeque
 

3. Put the burger on the bun and add a slice of Kraft Natural Cheese.

Done! My son’s plan calls for more carbs than just the bun. Instead of greasy chips, we grilled strips of zucchini and yellow squash (hint: you can also brush on some of the BBQ sauce for added flavor). We also added the grilled veggies right into burger (on top of the cheese) for an extra pinch of health!
Market District Burgers
 

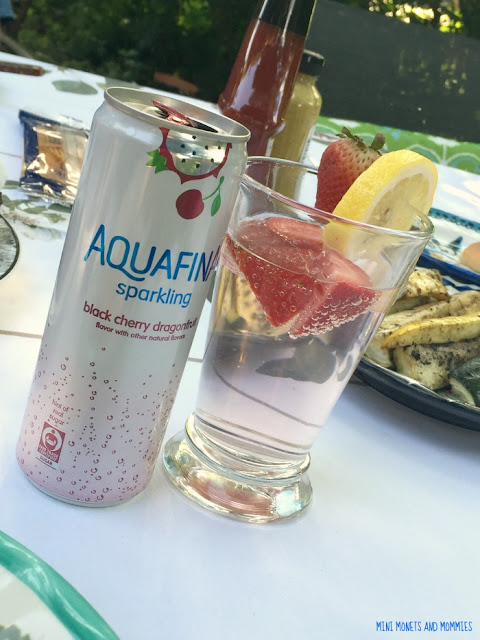
What about drinks and dessert? I’ve really never explored diet drink options, at least not until my son was diagnosed. But, for special occasions (such as a family meal with the grandparents) he always asks for something more than plain water. I picked up a few bottles of Lipton Ready to Drink Diet Peach Tea and went to the bottled water aisle for some Aquafina Sparkling Black Cherry Dragonfruit. The Diet Peach tea has no carbs, so it was the perfect drink addition to the meal. The Aquafina Sparkling water has 3 g per serving/can, but that still fit well within my son’s meal plan.

Summer Drink
 

I have to admit, I was a bit confounded when it came to dessert. Ice cream and popsicles were no-no’s, so I had to come up with a low-calorie option. That’s when I realized I had already bought dessert, without even knowing it. I could simply freeze the Lipton Ready to Drink Diet Peach iced tea and Aquafina Sparkling into low-cal pops.

Kids' treat


Add a popsicle stick and you’ve got a fruit-flavored treat! I had just bought these cute ring-pop ice molds. They worked perfectly for this recipe. I added slices of strawberries to a few too!.

Summer recipe


The grandparents aren’t exactly into popsicles, so they popped the cubes (minus the sticks) into plain seltzer water for a fresh summer drink. You can also slice up berries and add them to the mix (before freezing, of course).

That’s it! So easy. Show us how you made Giant Eagle you summer grilling headquarters by leaving a comment below. Share your recipe ideas for burgers and more for everyone to see!

Wednesday, June 22, 2016

DIY Rainbow Building Blocks

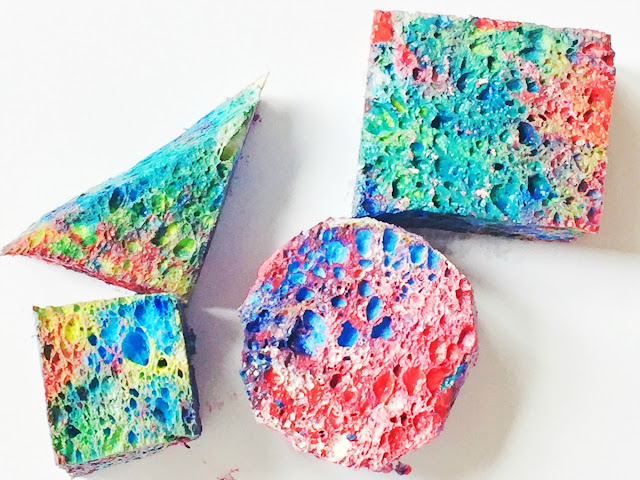
Building blocks don’t always have to be wooden or plastic. This STEAM activity proves just that! Last week we made geometric shape stampers out of kitchen sponges for paint printing (and color-mixing!). Instead of tossing the sponges out after the art activity was done, we’ll show you how your child can keep on using them.

Rainbow blocks


(This post contains affiliate links. Please see my disclosure statement for more information).

Okay, so the obvious continued use for the stampers is to reuse them. Stash them in a container and take them out to use next time your child wants to make some art. But, we’ll show you another way that your kiddo can play with them.

How? This is where the building blocks come in. After the painting is done (and completely dry), your child can turn the sponges into rainbow-colored blocks. This activity isn’t just artsy, it helps your child to build fine motor and math skills. She’ll also have to use her critical thinking skills to balance the shapes and stack them – without everything falling down.

Even though I just said that you should wait for the paint to dry, you can turn this activity into (very) messy play. Instead, start building with the paint still wet! Not only is this messy play, but it's a completely creative STEAM activity too.

Here’s What You’ll Need:

·        Kitchen sponges

·        Tempera paint

·        Wax paper

·        Scissors

Here’s What to Do:

1. Create geometric shape stampers. Read this how-to for more information. If you haven’t made the stampers already, you’ll need to cut the sponges into shapes, and then…

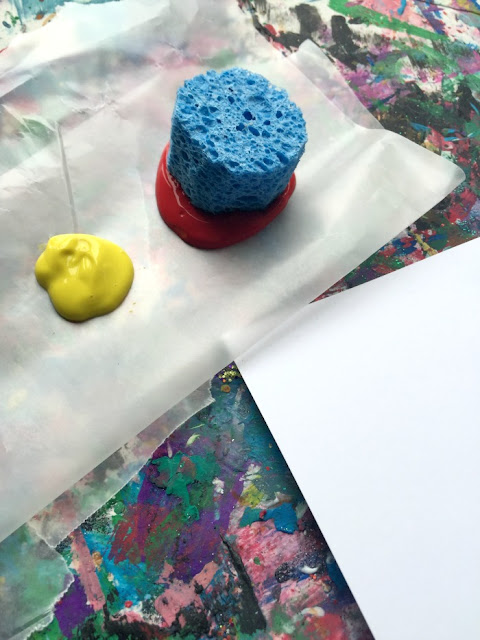
2. Pour the paint into pools on the wax paper. The wax paper protects your work surface and acts as a palette (just less expensive). Try the primary colors (red, yellow and blue) and white. Your little artist can mix them into a rainbow of hues with the sponges. Coat the sponges completely. Your child can press the sponges down to make a few prints now too!

Kids' art

Children's art
 

3. Let the paint dry. Or, don’t – if you want a messy art play activity!

Sponge stampers
 

4. Start stacking. Your child can build a tower, a wall or anything else she can think up. Add more sponge shapes to the mix to create an entire pretend play world.
Paint project

5. Take the sponges down and repeat – but, with different designs (in other words, encourage your child to build something different).

Keep in mind, your child doesn’t necessary have to build upwards. She can keep the design flat, and put the sponges together in patterns or puzzle-style on a piece of cardboard too!

Friday, June 17, 2016

Kids' Art: Painting with Sponges

Painting with sponges? It’s not exactly breaking news in the world of kids’ art activities. That said, you don’t have to go out and buy fancy materials and you can use this easy-to-do lesson to add in other learning areas (such as shapes and colors).

Color-mixing art

(This post contains affiliate links. Please see my disclosure statement for more information).

Do you have a kitchen sponge sitting around? I mean a clean one, and not the one sitting on the side of the sink covered in last night’s spaghetti sauce (we all have one of those). You can use a nice clean (and completely inexpensive) sponge to make shape stampers. Not only can you create DIY stamps, but you can add on a color mixing activity as well. How? Read on to find out…

Here’s What You’ll Need:

·        Kitchen sponges

·        Scissors

·        A marker

·        Tempera paint (in the primary colors – red, yellow and blue – and white)

·        Card stock paper

Here’s What to Do:

1. Draw a few shapes (triangles, rectangles, squares, circles) on the sponges. Use the whole sponge for one shape or divide it into a few.


2. Cut the shapes out. You can print the picture below out for your child to match the shapes and the words.

Kids' lesson
 

3. Pour the paint into pools on a palette (or use a sheet of wax paper).

Kids' art
 

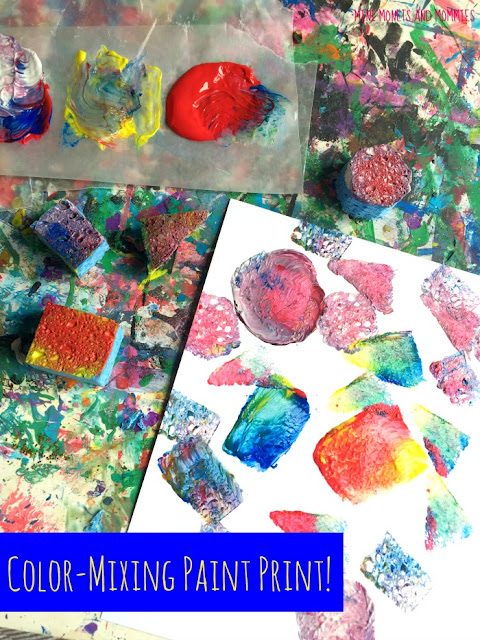
4. Start painting with sponges! Dip the sponge into the paint. Press it onto the paper. Repeat, making multiples. Your child can make a random abstract design, create a pattern of shapes and/or colors or make a larger design that’s made up of smaller shapes (such as a cat with circles for the face and triangles for the ears).

Shape project

Kids' art

Shape sponges
 

Now for the color mixing:

Blending colors
 

Your child already has paint on the shape sponge stampers, so don’t worry about wiping it off. Have her dip one of the paint-covered sponges into another color. Now the mixing begins. She can continue on with this process making green from yellow and blue, purple from blue and red and orange from red and yellow. Your little artist can also add white to any of the colors to make them lighter.

Painting prints
 

Thursday, June 9, 2016

19 Kids' Slime Activities

Kids’ slime activities! They’re full of science fun, encourage an artistic sense of imagination and are perfect for sensory play.

Kids' activities


(This post contains affiliate links. Please see my disclosure statement for more information).

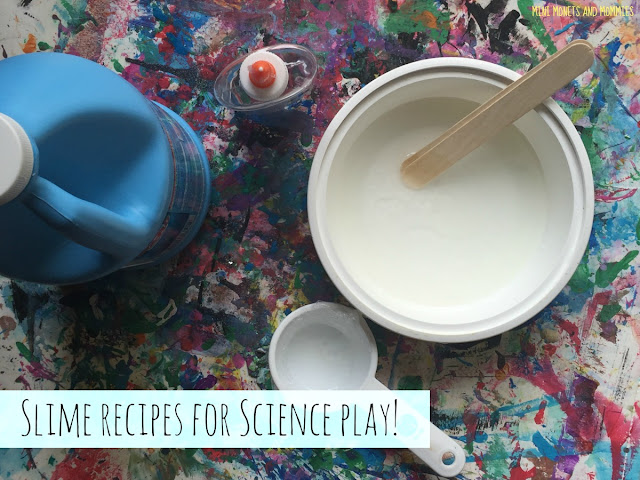
Slime is relatively easy to make. My favorite recipe includes equal parts clear Elmer’s school glue, liquid starch and water. But, there are tons out there. That’s why I’m bringing you some of the most creative versions that I’ve seen – along with a few of my own!

Kids' science
 

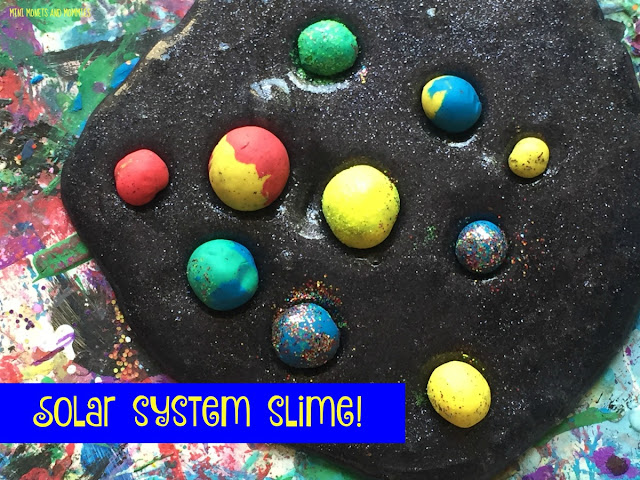
1. Solar system. It’s got stars, planets and glitter.

Slime recipe
 

2. Underwater ocean. No planets here. This recipe has fish, sharks and any sea creatures your child can make.

Underwater activity
 

3. Disco. It sparkles – need we say more?

Disco art
 

4. Feathers. A super sensory experience for your kiddo.

Feather crafts
 

5. Alien. If an outer space being had a nasty cold, this is what you’d get.

6. Patriotic. Red, white and blue.

7. LEGO. Brick by brick fun from Lemon Lime Adventures.

8. Sand. Little Bins for Little Hands made this beachy science version.

9. Fluffy and squishy. Oh the sensory fun, courtesy of Sugar Spice and Glitter.

10. Jungle. Go green with this recipe from Buggy and Buddy.

11. Alphabet Fybogel. Adventures of Adam made this letter mixture.

12. Fluorescent. Can I just say that this glowing concoction from Go Science Girls is amazingly awesome?

13. Shampoo. It’s not just for clean hair. Play and Learn Every Day used it to make slime for kids with sensitive skin.

14. Writing tray. Sugar Aunts helps your little one build fine motor skills with this hands-on (literally) activity.

15. Paint. Yep, your child can make art with the ooey, gooey stuff.

16. Googley Eyes. It’s like a puddle of monsters – from Adventures of Adam.

17. Cornflour. It’s a cool ingredient that Learn with Play at Home used.

18. Chocolate. Little Bins for Little Hands made this sweet smelling mix!

19. Bird seed. Sugar Spice and Glitter adds the totally textured ingredient to their activity.

Sparkle craft
 

Now that you’ve got plenty of ideas to choose from, it’s time to play. Stretch it, squish it or even paint on it (really – your child can finger paint or get the brushes out to decorate flattened slime). Kids' slime activities provide plenty of opportunities to explore, make discoveries and work out those fine motor skills!


Monday, June 6, 2016

Slime Recipes for Kids' Process Painting

Homemade slime recipes are kind of awesome! Okay, so these kids’ science activities are way more than awesome – they’re super, extra, amazing sensory fun.

Slime paint

(This post contains affiliate links. Please see my disclosure statement for more information).

We’ve made all kinds of slime – solar system, patriotic, alien, feathered, disco, underwater and more. The latest concoction to hit our art table (and, my 14-year-old actually still enjoys this activity) was a sparkle sea ocean creature version. We used glitter to turn the clear goo into an ocean-esque color. Some recipes call for food coloring, or similar products, to color the slimy mix. I prefer fine glitter.

Why use sparkles? Well, I kind of think everything is better with a little glitter. If you use enough it completely colors the slime, and leaves almost no mess behind. It also adds a super-cool sheen. So, why not?

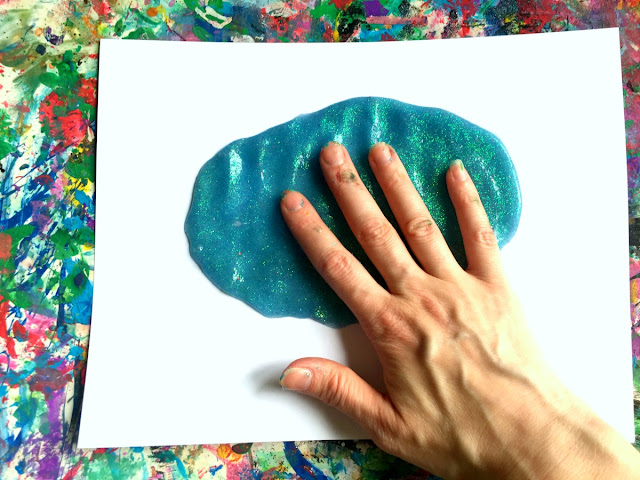
Back to ocean slime activity. After adding little clay sea creature sculptures to it, we found a secondary use – as a painting base. Some people use a canvas, apparently we use goop. But, really… if your kiddo is done with the sensory exploration and you don’t want to store (or toss) the slime, you can use it for this art activity. The slippery, goopy texture adds another layer to your child’s process painting fun. Whether she uses a brush or her hands (I recommend finger painting), it’s an unexpected canvas that’s totally different from what she’s used to.

First things first, you’ll need some slime. Like I said, we used our ocean recipe. But, you can make any color base you want. Here’s what you’ll need:

·        1/3 cup clear Elmer’s school glue

·        1/3 cup water

·        1/3 cup liquid starch

·        Fine glitter – in any color your child wants (or mix a few into a rainbow)

Here’s What to Do:

1. Add the glue and the water together. Mix.

2. Pour the liquid starch in. Mix. It’s pretty slimy now!
Slime art

3. Stir in the glitter. Fold it over and over and over again.

Sparkle project


Now it’s time to paint. Grab your favorite temperas and pour them onto a palette (I like using a sheet of wax paper – it’s inexpensive and really works). Spread the slime across the paper. Make a blob, cloud or other shape.
Slime recipe

Children's project

Sparkle art
 

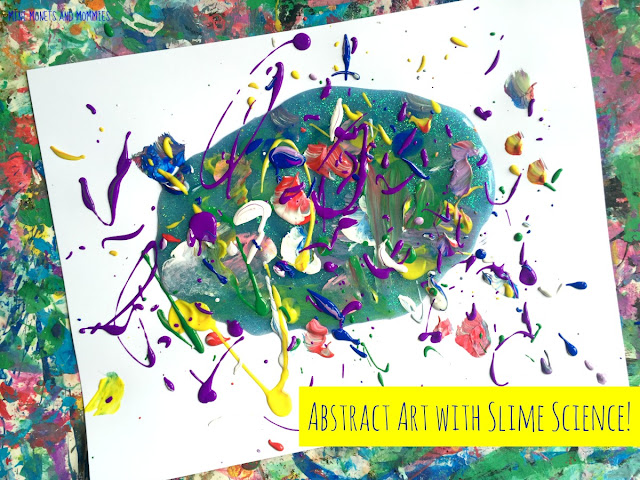
Paint! Your child can brush on a few hues (we made Monet’s Water Lilies in slime paint). Or, go abstract with a process painting splatter ala Jackson Pollock. Who knew such simple slime recipes could turn into artsy fun?
Paint process