Mini Monets and Mommies: August 2016

Sunday, August 28, 2016

Kids' Painting Art Activities: Without a Brush!

Kids’ painting art activities require a brush, right? Not always! Sometimes it’s entirely possible to help your child get as crafty as she wants, without a store-bought ‘painting tool’.

Kids' art


(This post contains affiliate links. Please see my disclosure statement for more information).

Okay, so you went out and bought a crazy-big pack of paintbrushes. You’re set! Or not. In something like 30 seconds your preschooler turned those brand new brushes into much-covered, crusty, sticky things that barely resemble anything that could be used for art-making. The bristles are bent and matted together, making it awesomely difficult to actually use them for anything at all.

It happens. A lot. When I taught children’s art classes, I was constantly helping the kids to keep their brushes in working order (obviously the museum where I worked frowned upon buying a constant stream of new ones). But, younger children always seem to have the desire to mash, smash and generally smush brushes onto paper. And, sometimes you’d rather let your little artist explore and experiment with painting art activities than sit next to him and say, “Please don’t break the brush.”

So, if you don’t have a brush left (and your child really wants to paint) or you’re just looking for something different to do – try this easy recycled option! Seriously. It’s low-cost and helps your child to get even more creative. He’ll have to figure out how to use the items that you’re giving him to create his artsy masterpiece! Your child will also get a fine motor workout (using the different materials to paint requires him to move his fingers and hands in different ways). If you do have one of those super-sticky brushes, you can also toss that into the mix. Why? Your child can use the other end (the handle end) to create paint-covered point prints or even roll the entire length of the brush (the handle and all) through the paint to make lines.
Child's art

Now, on to the art activity…

Here’s What You’ll Need:

·        Paper (we used card stock, but you could also use construction paper or poster board)

·        Scraps (really, any left-over art item—such as fabric, felt, tissue, cut pipe cleaners, cardboard, paper)

·        Tempera paint

·        Scissors

Here’s What to Do:

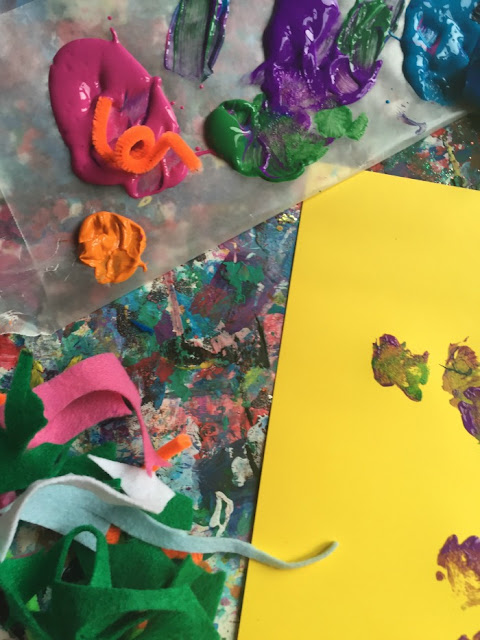
1. Gather the scraps together. Your child can cut some of them into smaller sizes (if needed). He can also crumble pieces of paper or bend pipe cleaners, making new shapes to paint with!
Felt pieces

2. Pour the paint onto a palette. If you don’t have an actual palette, use a piece of thick cardboard or wax paper as an easy (and totally affordable) alternative. Use a rainbow of colors or create a color-mixing kids’ art activity by choosing only the primaries (red, blue and yellow).

Kids' crafts

3. Give your child a piece of paper to paint on. He can dab the scraps into the tempera, and then press them down onto the paper. He makes ‘brushstrokes’ with fabric, prints with pipe cleaners or anything else he can think up!
Kids' paint

Don’t worry if your child isn’t painting ‘something’. Encourage him to explore the process of painting. Doing so lets him make his own discoveries, while getting creative!

Children's art
 

Tuesday, August 23, 2016

Purina Beneful Originals Has a New Formula, and We Have a New Healthy Recipe for You Too!


This shop has been compensated by CollectiveBias, Inc. and its advertiser. All opinions are mine alone. #NewBeneful #CollectiveBias

Dog food is kind of a big thing in my family. With two Olde Boston Bulldogs that are, um – energetic to say the least – our little Oliver and Lulu need all the nutrition they can get. Seriously. It’s like having two toddlers running around. So, when I saw that Purina Beneful Originals was reformulated I was all in!

Steak Veggies
 
I’m going to admit something – for many, many years, I wasn’t a dog person. I was totally a cat person. From our first cat (a tabby named Albert that we got when I was 7-years-old), I’ve always been all about felines. That was until I met my now-husband. He’d always had dogs and when we moved in together, that also meant moving in with Duke (his Shepard mix).

Fast forward 17 years, and we’ve had four dogs (including our current two) and one human (that would be our almost 15-year-old son, who by the way, is very much a dog person).
Puppy dogs
 
 
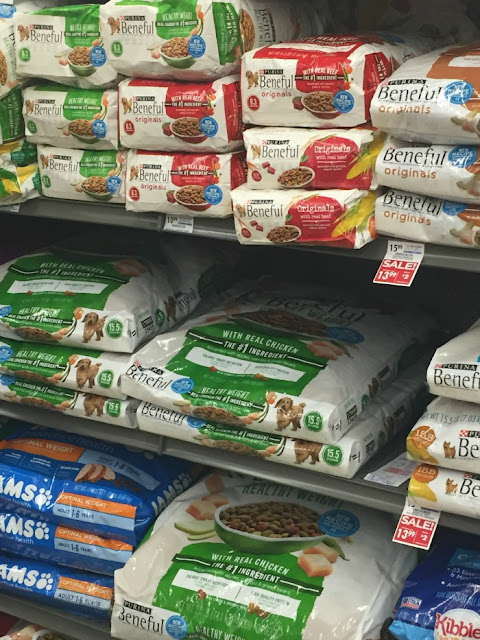
This brings me back to the nutrition thing. That’s why we feed our dogs Purina Beneful Originals. And, I’m glad we do! Why? Because now Purina Beneful Originals and IncrediBites has a new reformulation – with meat as the #1 ingredient and NO sugar added! It was actually created with dog owners in mind, using real feedback and relying on two years of research.

Obviously the dogs aren’t the only ones in the house who need a healthy diet. My son was diagnosed with type 1 diabetes last spring. Now that the dog’s main dish is sugar-free, it matches pretty perfectly to my son’s new meal plan. Not that we ate a high-sugar diet (type 1 diabetes is an autoimmune disorder, and NOT a disease that is a result of lifestyle choices), but there’s always room for improvement. Healthy eating isn’t an option for us, it’s a must-do.

Okay, Ollie and Lu (our little nicknames for the dogs) get the good stuff with the NEW Beneful Formula! Dry Dog Food Reformulation – and they are incredibly happy about it (or at least they seem so, as they can’t exactly tell me). I love the idea that the new formula has meat as a main ingredient, and wanted to recreate a similar ‘meal’ idea for our family. With that in mind, I got a few steaks and an awesome array of fresh veggies. The result? A rainbow vegetable and meat recipe that’s a total parallel to the new Purina Beneful Originals. I can also take care of getting both meals (the Purina for our dogs and the ingredients for my family) at one place! The reformulated Purina Beneful Originals is available at most grocery stores and retailers such as Target and Walmart (and who doesn’t like getting everything in one easy shopping trip?).
 
Purina Benefuls
 

Before I get into the recipe specifics, I need to make an important point – this is not a dog food recipe. The new Purina Beneful Originals takes care of that. I treat my dogs to a tasty meal with it, so there really isn’t much else they need. One thing they certainly don’t need is ‘people food’. Are our dogs part of the family? Yes, of course they are. Do they sit at the table and eat with us? No, they don’t. People food isn’t made for dogs. That’s why our Ollie and Lu get their Purina Beneful Originals, and not the meal from our plates.
 

Also, dogs often have sensitive stomachs. Our little Lulu certainly does. Even though we’ve been feeding them Purina brand food for what seems like forever, we didn’t want to just dive right in with the new Purina Beneful Originals. We started slowly adding it to their existing diet. This let them get used to the new formula, without giving them any tummy issues. Eventually we phased out the old food, and were able to completely feed them the new one.

Okay, okay, and onto the recipe. And, by the way – it’s totally simple. I’m not exactly ready to audition for Top Chef. So, this is easy enough for even the novice to try. But, it’s still super-healthy, completely colorful and tasty.

Here’s What You’ll Need:

·        Steak -- look for a thick cut or if you want to go the easy, non-slicing route, get cubed steak from your butcher’s section.

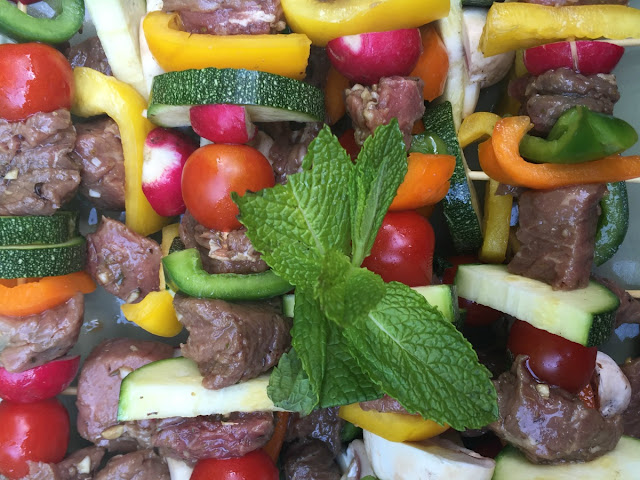
·        Rainbow veggies – pick whatever’s in season (I used yellow, green and red peppers, zucchini, beets and radishes).

·        Fresh mint

·        1 lemon

·        Olive oil

·        Skewers (the shish-kabob kind)

Here’s What to Do:

1. If the steak isn’t cubed already, cut it into cubes.

2. Put the steak into a mixing bowl, and drizzle the olive oil on top.

3. Finely chop the mint. Add it to the mixing bowl.

4. Cut the lemon in half. Squeeze the juice into the mixing bowl.

5. Mix everything in the bowl. Cover with foil, and refrigerate for one hour (if it ends up being longer, that’s okay too).

6. While the steak is marinating, chop the veggies. If you’re using beets, slice them lengthwise.

Rainbow veggies
 
7. Add the meat and veggies (except for the beets) to the skewers. Alternate the meat with the vegetables.

Meat recipe
 
8. Grill the skewers (if you’re cooking beets, grill them separately) until the meat is completely cooked. Never eat raw or undercooked meat (you can pull off one cooled piece of meat from a skewer and cut it in half to make sure that it’s completely cooked).

Serve the steak and rainbow vegetables on the skewers or take everything off before you add it to the plate. That’s it! It’s so very simple. Maybe it’s not as easy as opening up a bag of Purina Beneful Originals.  But, like the Purina Beneful Originals reformulation, it spotlights meat in a refreshingly healthy way.

Benefuls Food
 
Are you ready to try Purina Beneful Originals new formula? Sign up for a free sample here.
What's your favorite healthy meat recipe? Share it with us in the comments section below!

Sunday, August 14, 2016

Kids' Art Activity: Craft Felt Painted Collage Landscape

What kind of kids’ art activity are your little ones making today? If you’re not sure, this summer landscape idea combines fabric collage with painting – in a totally creative way (your kids’ creativity that is).

Children's art


Your child looks out the window, and what does she see? Go ahead, ask her. She’ll probably give you an answer that sounds something like, “Trees, plants, grass, sky and clouds.” Now ask her what colors she sees. Chances are she’ll say, “Green grass, a blue sky, a yellow sun, a green and brown tree.” Right?

This art idea doesn’t necessarily follow what your child actually sees. Instead, she can take what’s in front of her and change it – using her own imagination.

If the weather feels like cooperating, take your child outside. Have a seat under a shady tree in the backyard or get ready for a park-side art activity. If going outdoors isn’t an option, take a look out of the window.

Now, ask your child to draw what she sees using colored pencils, crayons or markers. She can create a realistic landscape, with the colors of nature.

After she’s done with the real-life drawing, it’s time to make another landscape. But, this time she’ll create a colorful version that is more imaginative than ‘natural’.

Craft project
 

Here’s What You’ll Need:

·        Card stock paper (thicker paper holds the collage and paint better than construction or drawing paper)

·        Scissors

·        Clear-drying school glue

·        Craft felt – in vibrant colors such as bright pink, red and aqua blue

·        Tempera paints

·        A paintbrush

Here’s What to Do:

1. Cut the felt into shapes. This lets you add in a math lesson to this kids’ art activity. Have your child name the shapes as you show them to her.

Kids' craft

2. Create a landscape, using the shapes. Your child can collage the felt onto the paper using the glue. This is like putting together a puzzle. For example, a tree is three rectangles in a line with a circle on top.

3. Let the glue dry.

4. Pour quarter-sized pools of paint onto a palette or a piece of wax paper (it works as an inexpensive barrier that keeps the work surface clean – or at least, cleanish).
Art activity

5. Paint the felt. Your child can add details or change the color of the felt. Mix the hues, making new ones too!

6. Paint the paper. Your child can add extra colors to the paper as well.

Kids crafts


Compare the two pictures – the realistic drawing and the painted collage. Ask your child to tell you what the differences are and why she choose the colors and shapes that she did!


Sunday, August 7, 2016

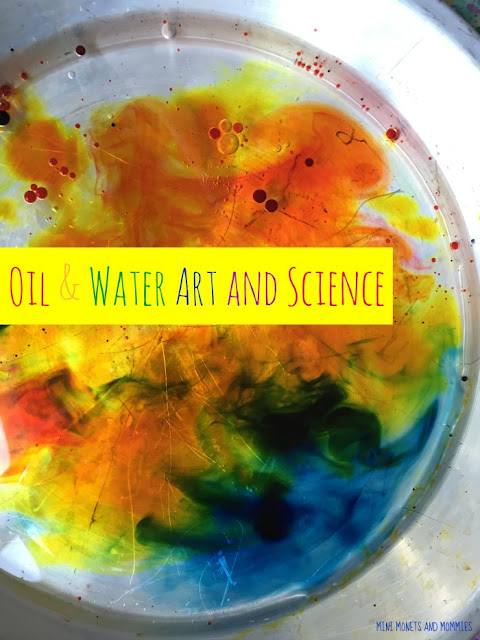
Oil and Water Kids' Art and Science Experiment

Okay, so we all pretty much know that oil and water don’t mix. But, does your child know? This kids’ science exploration also doubles as an easy art activity!

Children's art


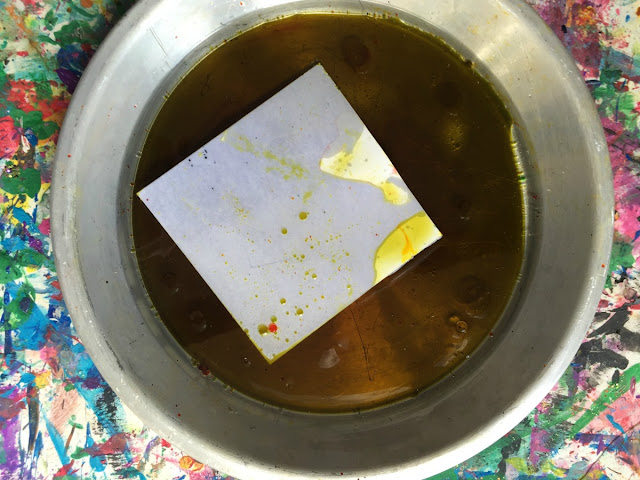
To be honest, this activity didn’t exactly turn out as planned. The beginning idea was to explore marbling paper – with regular ol’ items that you’d have in your kitchen. That said, it didn’t go so well. The marbling part never really happened.

That’s okay. If I had a penny for every failed art activity – well, you can figure out the rest. Art activities don’t always come wrapped in a pretty little box with a perfectly curled ribbon on top. They can be messy and they often have completely unexpected results. But, that’s the joy of art!

This combines both art and science into one discovery-oriented activity. Start it off by making a few predictions. Ask your child what he thinks will happen when he adds the oil to the water. Will it mix into one new liquid? Won’t it? Why or why not? You’ll be adding food coloring later. When you get to that step, stop and ask him to again predict what will happen.

Keep in mind, this is an exploration and not a project where your child ‘make something’. Snap a few pics along the way. This gives you something concrete to remember. It also allows you to document the process. Print the photos, hang them up and use them as a starting point for a discussion later on. You won’t have an actual concrete ‘project’ to talk about, so doing this lets you reinforce the learning – even after clean-up time.

Here’s What You’ll Need:

·        A shallow pan – we used a shallow pie pan

·        Water

·        Veggie, olive or canola oil

·        Food coloring

·        Something to stir with – we used a chopstick, put you can also use a spoon, a straw or a stick

Here’s What to Do:

1. Fill the bottom of the pan with a shallow layer of water.

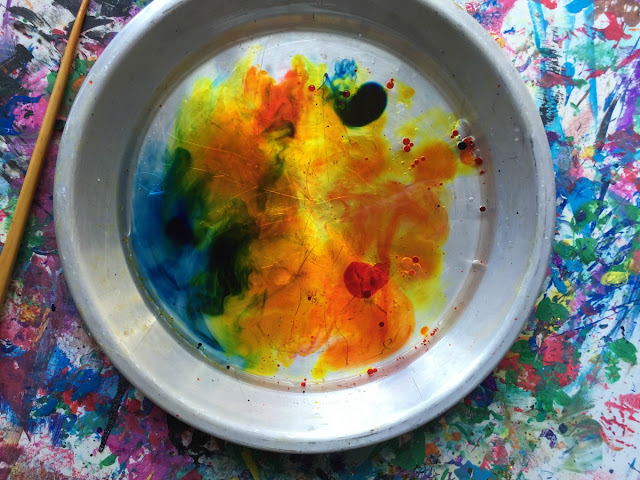
2. Drop a few drops of oil into the water. Watch what happens.
Science experiment
 

3. Stir the oil. Again, watch what happens. After your child has made a few observations, add some more oil to see what happens.

4. Drip food coloring into the oil and water. Start with the primary colors if possible (red, yellow and blue). Drip the first color in. Watch what happens. Drip in the next, and so on. Let your child see what the colors do, before he starts stirring. Observe, and talk about how they move and if they mix or don’t. Let him to tell you why he thinks this happens.

art activity
 
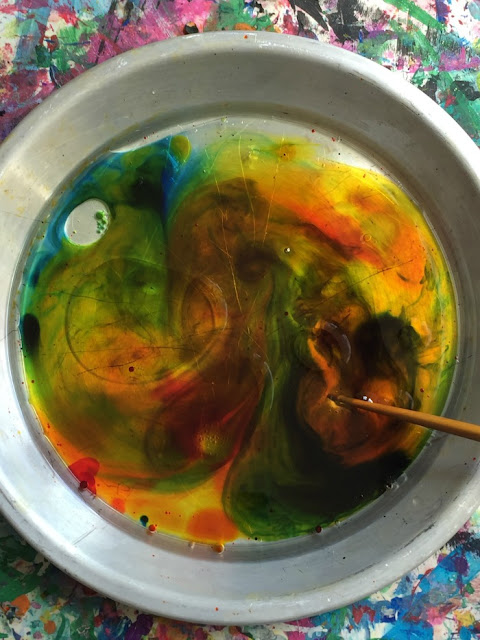
5. Stir the colors. Start slowly, seeing what new colors come from the primaries. Ask your child to tell you what he thinks will happen if he continues to stir them.
 
Color mixing
 

6. Keep stirring.

Science exploration
 
Make a point of exploring how the water and oil affect the color mixing. You can add to this kids’ science and art activity by making a second pan that just uses water and food coloring (in other words, don’t add the oil). Compare and contrast how the two are different, asking your child why he thinks the liquids behave the way they do.

How did your child’s oil and water color mixing experiment turn out? This is what happened to ours! Tell us what happened with yours, and share your child’s art and science experience in the comments section below.
art activity